If you are anything like me, you get hundreds of emails in a day, and keeping them organized can be a real chore. But not if you automate, and organize your email with cPanel.
With this guide, I’m going to explain, and give a simple example, of how to automatically manage incoming mail so that it is organized for you automatically on the server side using cPanel filters.
The first thing I’m going to point out is that you don’t need to be a cPanel administrator to manage mail filters for an email address, providing you have the username and password for that account, and you know where your cPanel webmail is.
Another thing to keep in mind, cPanel filters run at the time an email is received. These tips will not work on email that is already in your mailbox or downloaded to your computer. The guide is also intended for use with your email client set up as IMAP, and not POP, as only IMAP is compatible folders.
[section_title icon=”chevron-circle-right” icon_color=”#999999″ title=”Step 1 – Log In”]
Log in to your cPanel account if you are the email administrator want to edit filters for all accounts, or an individual account

– OR –
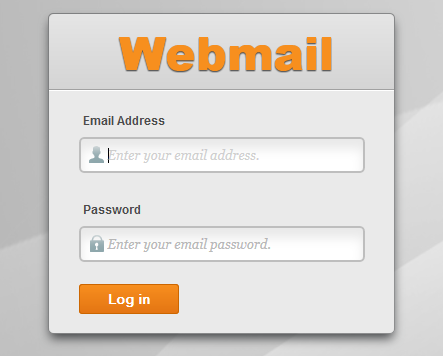
Log in to your webmail account to edit your own filters.
[section_title icon=”chevron-circle-right” icon_color=”#999999″ title=”Step 2 – Choose The Filtering Option”]
Once you have logged in, locate the filtering options. From the cPanel login, the two options under the mail section are Account Level Filtering and User Level Filtering.
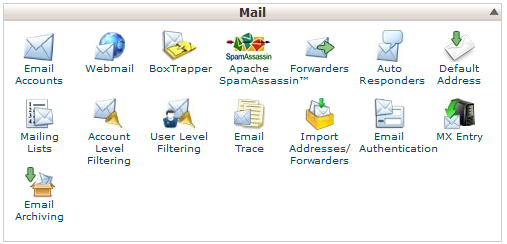
Account Level Filters allow you to filter emails regardless of which user they are intended for. This might be useful for handling spam for example, or for rules you don’t want your users to be able to edit. User Level Filtering is by individual user account. Keep in mind that cPanel users can see, and change, any rules you set on the user level.
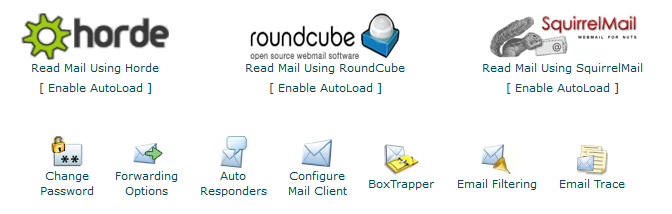
If you are logging in from webmail, the only option you will have is Email Filtering, which will affect your email account only.
From here, the interface will remain basically the same for both cPanel and webmail.

On this screen, you can edit, delete, or re-order the filter rules in your account. Order can be important, each rule will execute in the order shown, and you can instruct each indvidual rule to stop processing, or continue on, given the logic inside the rule. For example; if you write a rule to filter spam that does not contain the ‘Stop Processing rules’ action, and the next rule is set up to move newsletters into a folder, Spam may show up in that newsletter folder if it matches both rules.
Normally, there will be no rules to start, other than perhaps a ‘Generated SpamAssassin Discard Rule’ in Account Level Filtering. If you do have rules, it’s important to consider their purpose and take that into account when creating new rules.
[section_title icon=”chevron-circle-right” icon_color=”#999999″ title=”Step 3 – Create a Rule”]
Let’s start by creating a new rule.
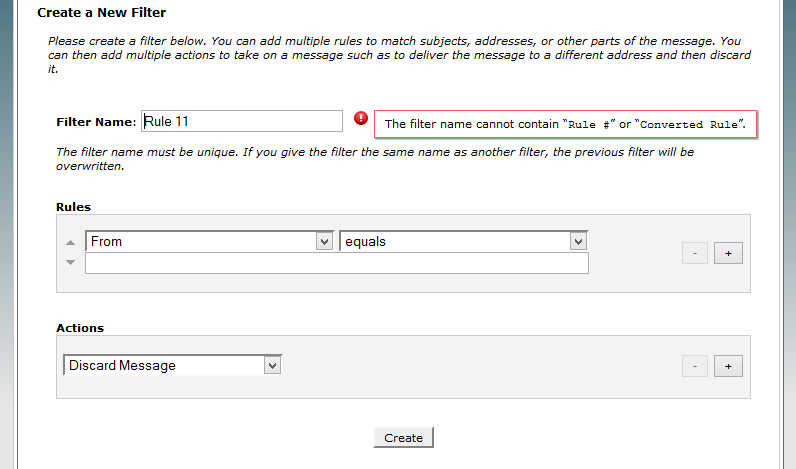
Give the filter a name. Choose something that makes sense, like ‘Move Newsletters to Folder’. The name can’t contain ‘Rule #’ or ‘Converted Rule’ as those are used for internal processing.
Next, we need to determine the rules logic. The first drop down allows you to choose from the many fields that are available in an incoming email.

For example, ‘From’ would contain the email address and name of the person who sent the email. Let’s pick that for this example.
The next drop down lets you choose the ‘comparison operator’.
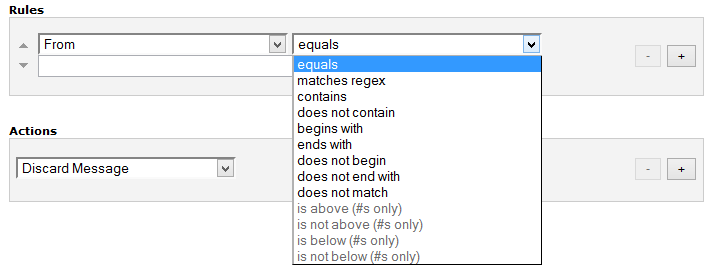
Equals means in short, matches ‘exactly’. For this example, lets use ‘contains’, which will check to see if the value we define exists within the field chosen, even if it’s not the only thing.
And lastly, there is a field for you to fill in the value you want to check for. For this example, we’re moving newsletters in to a folder, so enter an email address from a newsletter that you receive often. Make sure this is the ‘From’ address. For this example, I’ll use newsletter@madeupwebsite.com.
You can also combine additional logic using the + beside each rule. When you do so, you will be given the options ‘and’ and ‘or’. These mean exactly what they sound like.
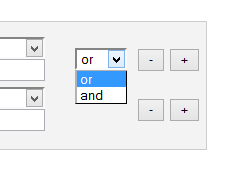 You could, for example, create a single rule that handles all of your newsletters, by simply adding the same rule above with a different address and using ‘or’. So, for example;
From contains newsletter1@madeupwebsite.com or
From contains newsletter2@madeupwebsite.com or
From contains newsletter@anothermadeupwebsite.com
[section_title icon=”chevron-circle-right” icon_color=”#999999″ title=”Step 4 – Decide What Happens”]
Once the rule matches, we need to tell the system what to do with it. In the Actions section, there is a number of options.
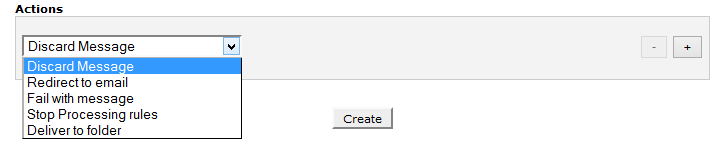
For this example, we’re going to choose ‘Deliver to folder’, which will then give you the option to pick a folder. This will display only folders you already have configured, so if you do not have a ‘Newsletters’ folder, you may need to log in to your webmail and add the folder, or use your mail client to create one.
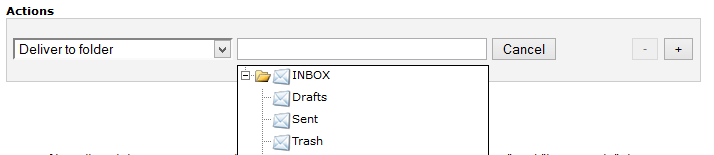
Now, unless you have something else planned, you need to tell the system to stop processing rules. Click on the little +, and add the action ‘Stop Processing rules’.
Hit ‘Create’ at the bottom of the page, and, as long as you didn’t make mistakes, your rule is complete!
From here on, any email coming in from the address newsletter@madeupwebsite.com will be moved into the Newsletters folder automatically on the server side, and all of your mail clients and devices will see exactly the same thing!
As you can see, there is many possible permutations and combinations of rules that make this a very powerful function! If you organize your Email with cPanel, you can really cut down on the time wasted every day by having to drag emails into various folders, or even the interruptions by everyday ‘unimportant’ emails that would be better off hidden away from you until you needed to pay attention to them.
Leave a Reply
You must be logged in to post a comment.